Shadows and highlights play a very important role in designing. They help to produce 3d effect in 2d designing software. Shadows and highlights define the depth of an object created which gives the 3d effect. Shadows are the dark portions or the portions where there is absence of light in objects or its surroundings. Highlights are the portions where light is available or where the object has been exposed to higher intensity of light. So using these basics of lighting from physics we are going to produce 3d effect in Photoshop.
Creating a sphere using highlights.
1. Make a perfect circular selection using the marquee tool.
2. Now select gradient tool. Choose white on one side and any other colour on the other side and radial gradient option and drag it from one end to another end diagonally and now you have got a 3d sphere.
Creating a sphere using shadows.
1. The first step is the same as the previous one. Now all you will have to do is select the same gradient tool and choose any colour on one side and black on the other side and drag it in the same manner as in the previous one.
Creating glossy sphere or orb using highlights.
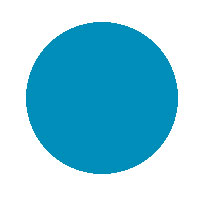
1. Most of them know this technique but still then I would love to say this for beginners. Make a circular selection and fill with a single colour.
2. Now make another elliptical selection on the top of the circle in a new layer. Select gradient tool choose white colour with opacity 100% on one side and same white colour with 0% opacity on the other side, choose linear gradient and drag it from top to bottom.
Corollary: You can create more glossy orbs using this technique in different shapes like the following.
Creating a sphere by creating a shadow.
1. Make a circular selection and fill it with a colour. Then make an elliptical selection and fill with black colour and apply some amount of gaussian blur. Therefore you have created a shadow on the surrounding which gives a 3d effect.
Corollary: You can create different shapes of shadows which defines the direction of light like this.
Creating folds in a paper corner using Photoshop.
The technique in creating folds in photoshop is really very easy and depends upon the position of the triangle you place.
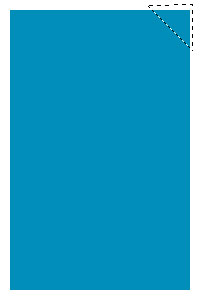
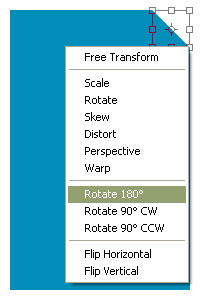
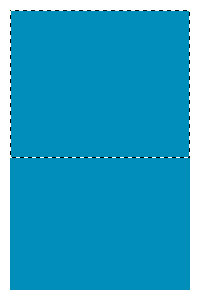
1. Create a rectangle and separate a triangular portion in any corner of the rectangle and reflect it in both the axes and then apply a normal drop shadow such that it falls on the remaining portion of the rectangle.
To give more effect you can warp the triangle in any of the directions.
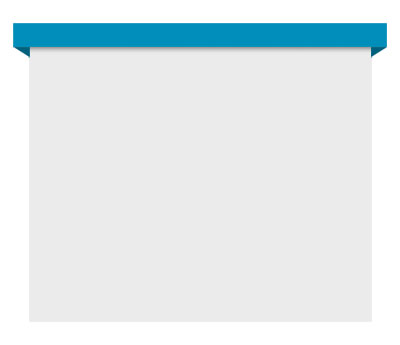
To create a pouch effect using shadows.
1. Create a rectangle. Make another rectangluar selection. Select gradient tool choose black colour with opacity 100% on one side and same black colour with 0% opacity on the other side, choose linear gradient and drag it from bottom to top.
Corollary: You can create more pouch effects using this technique like the following.
To create a banner effect.
1. Create a rectangle. Place a triangle below the rectangle in any one of the corner but make sure that the triangle has a darker shade than the rectangle’s colour. If you want you can place a shadow below the rectangle using drop shadow option.
Corollary: You can create another more rectangle on the other side also so that it gives a mush better effect like the following.
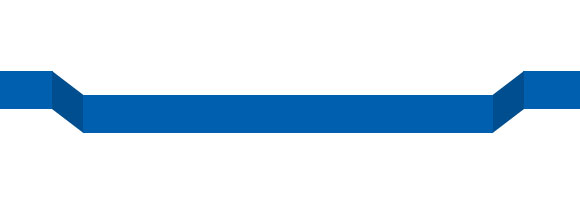
One more banner effect.
1. To create these banner effects draw a rectangle horizontally. Then a small rectangle at both the left and right side ends of the rectangle with a darker shade of the same colour and then skew them either upwards or downwards.
This is what you will get.
Corollary: You can create the opposite effect by swapping the colours.
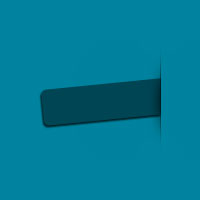
To create a pop-out effect.
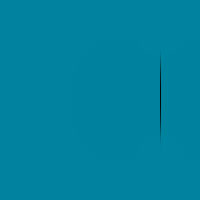
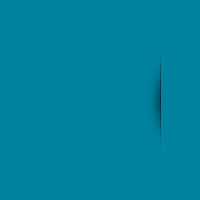
1. Draw a line. Choose eraser tool with round 0% hardness brush and delete some parts of the ends of the line.
2. Make an elliptical selection fill it with black and apply gaussian blur. Delete the portion of the black part beyond the black line.
3. Now place a rectangle layer below the shadow layer at the end of the line.
To create a bulge effect.
1. Follow the same instructions as said above but create them horizantally and place two lines and each shadow on the either side of the lines. You will get a bulge effect.
2. If you change the shadow layer in wards then you will get a depression effect.
Miscellaneous kinds of shadows.
1. These are different kinds of shadow creation using the same above mentioned techniques with a little bit of creativity involved in it.
Download Article

















nice article, thanks for sharing
.-= Nikola Lazarevic´s latest blog ..20+ jQuery Image Gallery for your next project =-.
Thanks Lazarevic, thanks for the comments.
Nice One……..!
Thanks Umesh. I expect more tutorials from you for animhut. The previous one from you was really good and got a lot of appreciation for us. Thanks for that also.
superb article, its very useful
thanks for the info was very interesting and useful. This article title is very relevant to the content. thank you friends
Thanks blogteater, visit and view other posts also in animhut for more tutorials and useful freebies stay in touch also.
I have been using photoshop for over 3 years but most of the time, I rely on this kind of tutorial articles. Two thumbs up for you because I understand your steps well and I have executed them without any hardships. Very detailed instruction.
The trendy page bend shadows!
This is a great site. And the news is relevant.