Hi viewers, I am back after sometime with more stuff which you will surely find to be more useful. Particularly this time I am going to make use of more than one software to produce better outputs. In this tutorial we are going to see how to create unique style 3d typography using Adobe Illustrator and Adobe Photoshop.
Preview
Step 1: Open a print document of any size in adobe Illustrator and draw a rectangle of equal width and height(square).
Step 2: Now select that square. Now go to Effects->3D->Extrude and Bevel options and give the following settings.
Step 3: Now you will get something like this.
Step 4: Now choose Object->Expand Appearance.
Step 5: Then right click the object and choose Ungroup option twice. Now you will get 3 separate pieces.
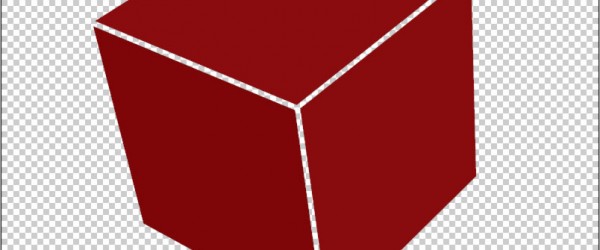
Step 6: Now choose each piece and move them a little away (1 or 2 pixels) from each other like this.
Step 7: Now open a new document in Photoshop and drag drop all the three pieces into that Photoshop document.
Step 8: Now type some text like this. Make sure that first half of the word is Bolded and the remaining is normal text.
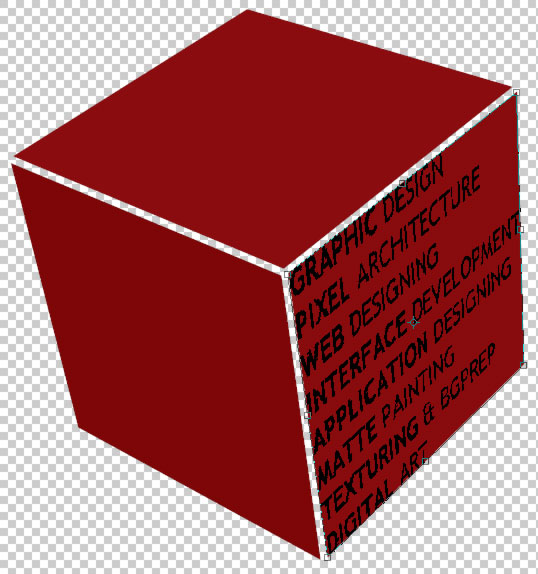
Step 9: Right click in the text layer in the layers palette and choose rasterize type option. Now press Ctrl+T and switch on the transform controls. Right click and choose distort option. Distort the rasterized text like this.
Step 10: Now again type two more texts like this and distort them to fit the remaining two sides like this.
Step 11: Hide the layer which has got the cube imported from illustrator to get such a result.
Step 12: Include a new layer at the bottom of all layers and fill it with white color.
Other Results


I like typography. Very interesting tutorial, easy to implement. The end result I like.
Hey Sipi,
Did you ever consider doing screencast video tutorials? Written tutorials are great but often you will be able to reach a broader audience using video as well.
Regards,
James
Great one. Ones ive seen something similar as an animated end titles for some hollywood movie.
Its really nice 3d effect.
Very interesting tutorial, easy to implement. Thx very much
Nice tutorial, thanks for sharing.
Wow, this 3D text is simply stunning. Thanks for the tutorial… I am not good with Illustrator and Photoshop, haha!
Wow! This is very professional. Do you have other tutorials on photoshop? If you don’t have other ones, could you please other tutorials?
This is cool stuff!
Thank you for photoshop free tutorials from this web… Comment by Grafis 71