Hi viewers, in this tutorial we are going to see how to create a good looking dark website. Creating this website is really very simple and easy and involves very few steps. The reason why I do these kinds of templates is that they will give a professional look. Ok let’s move into the tutorial.
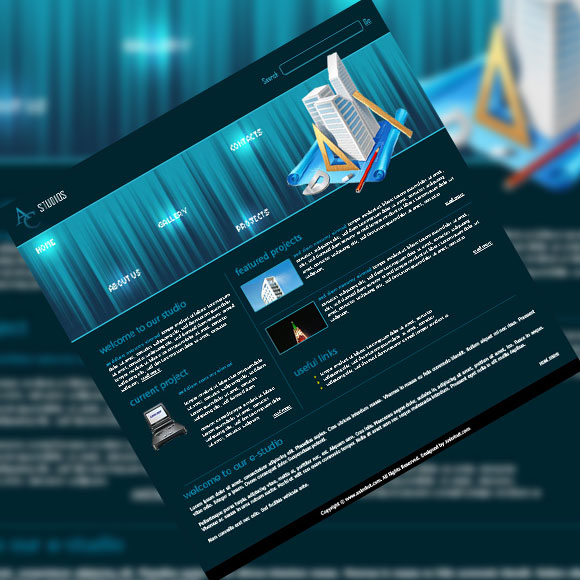
Preview
Step 1
Open a document of size 800 px X 800 px of 72 ppi and black background.
Step 2
Now create a new layer and make a rectangle of size 800 px width and 750 px height of colour “00242f” and make it top aligned to the whole document.
Step 3
Now drag two horizontal guides, one at 75 px from top and the another to 275 px from top. Make a rectangular selection between those two guides. Now choose gradient tool, linear gradient option, “1593ac” colour on one side and “13334a” on other side and drag it from top to bottom and you will have to get something like this.
Step 4
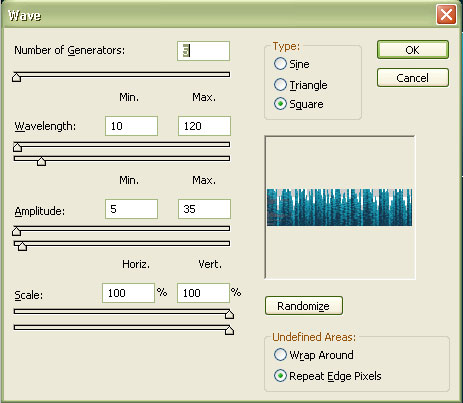
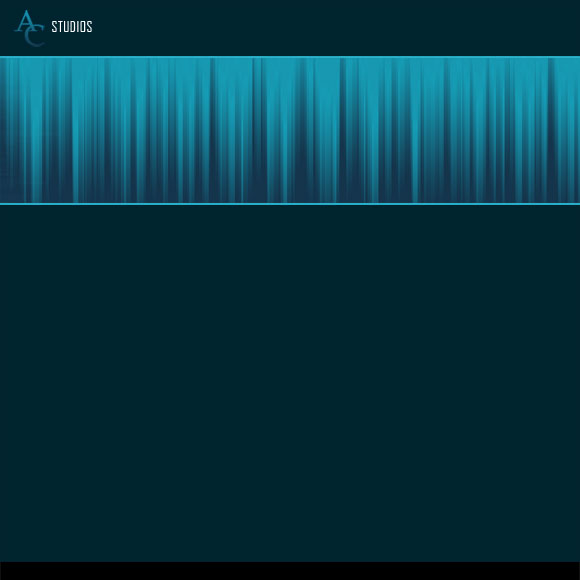
Now with the rectangular selection still on go to filter->distort->wave and choose square option in that and leave rest of the settings as default and you will have to get some thing like this.
Step 5
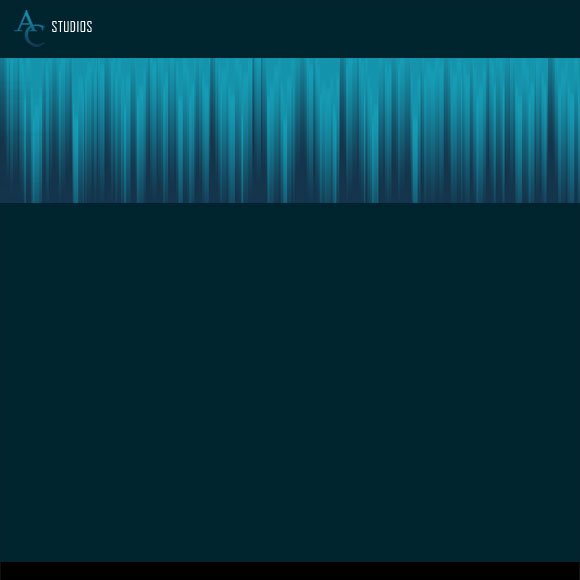
Now put your logo, company name and tagline at top left corner.
Step 6
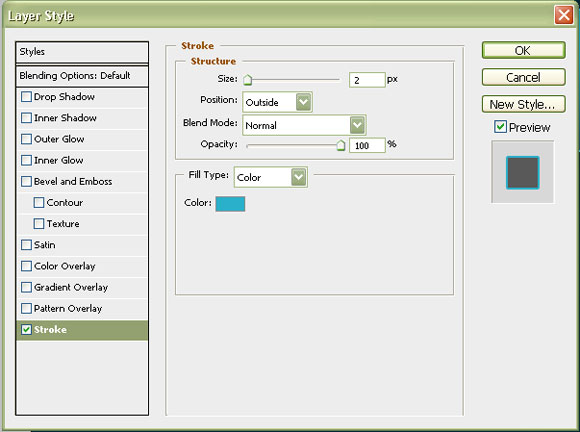
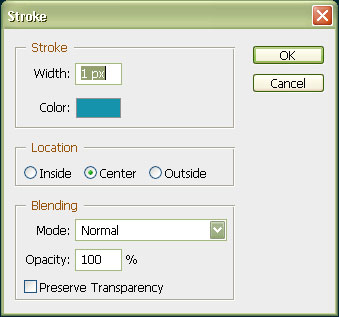
Now select the layer that has the distorted gradient layer and apply stroke layer style to that and these are the settings. Then you will get the following results.
Step 7
Now take rounded rectangle tool, paths option, 5 px radius and draw a rounded rectangle. Press ctrl+enter and make it into a selection and now go to edit->stroke and give the follwing settings so that you get something like this.
Step 8
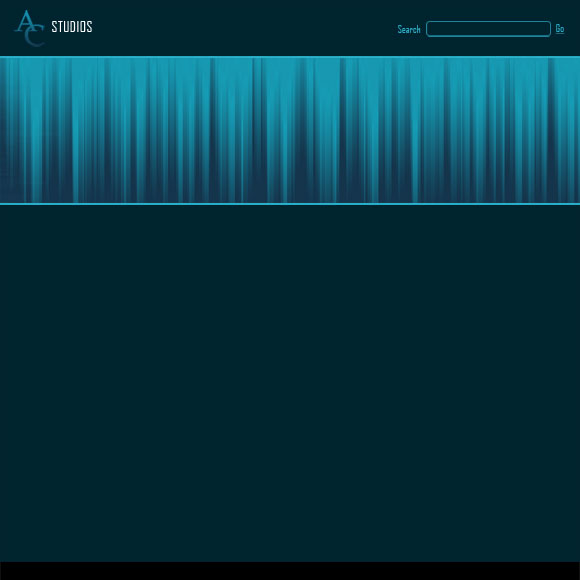
Now type “Search” on the left side of the rounded rectangle and “Go” on the right side of the rounded rectangle
Step 9
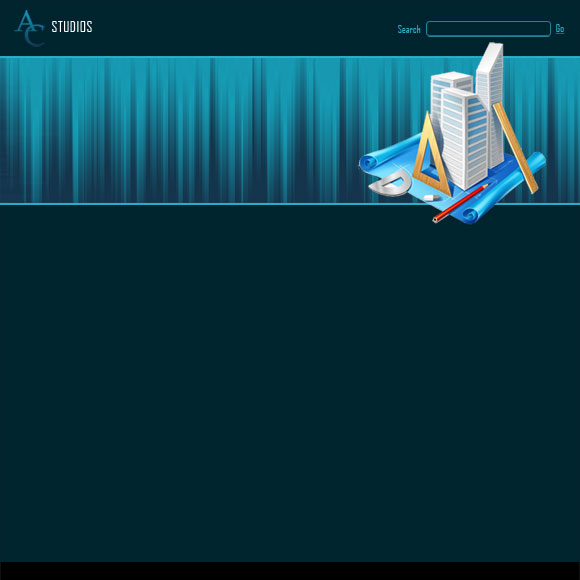
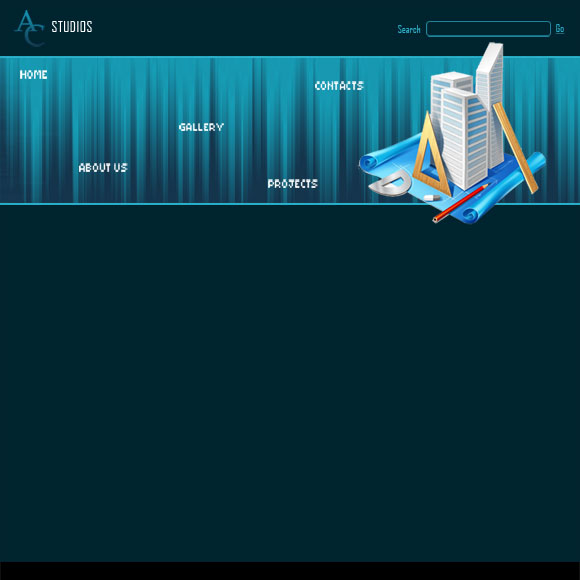
Now include a picture that relates to your website in this fashion.
Step 10
Now type the links randomly in the header portion like this.
Step 11
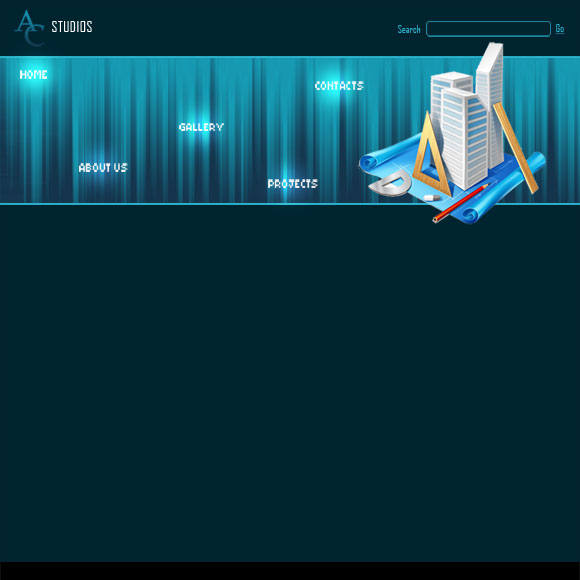
Now create a layer below the entire links layer. Take a round soft brush with white colour and click it one time in the center of each and every link that you have typed and then change the blending mode of that layer to overlay. Make sure that this layer is above the header section.
Now you stage is set to include the contents.
Step 12
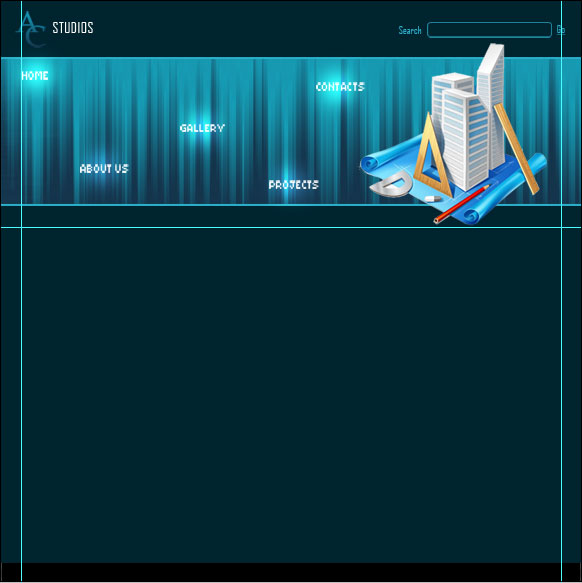
Now drag two vertical guides both 50 px away from both the ends and make sure that all the contents within these two guides. If you want, include one more horizontal guide below the header layer so that your contents doesn’t overlap the out of bounds picture.
Step 13
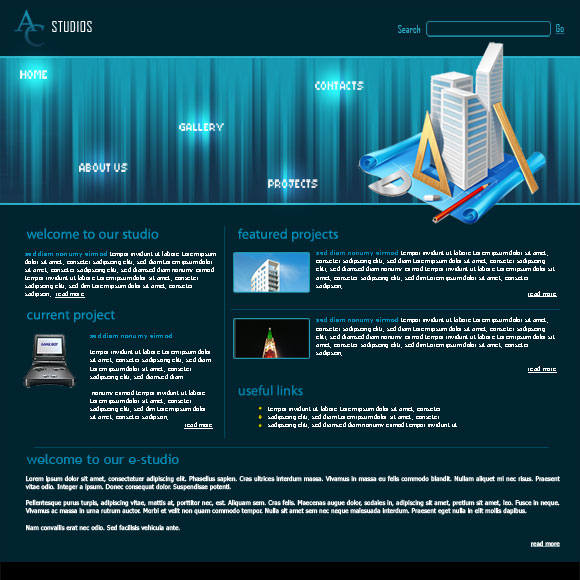
Now start including the contents according to your layout. This is the way I included the contents.
Therefore, you are done with it. If you want you can change the layout that I have done like the way you like. Including contents is not a great deal regarding this template that’s why I haven’t given it in detail.
Comments and welcomed.










very nice tuts… helpfull as i m workin on one 🙂
Hi Anand, stay logged in with animhut and also inform your friends in this field so that they get benefited. thanks for the comments.
Great tutorial! Thank you for sharing!
Thank you Adriana. For the comments
This would make a great architectural site. Good tutorial.
Yeah, i made this template having a construction company in mind.
Good job looks great,appriciaye that ….
Hi Arul, Your works are also great. Your skillset is very impressive.
Fantastic Tips. Easy to understand since the tutorial is purely picture oriented.
This theme will be very useful for business blogs.
Thanks for the tutorial !!
Thanks pay commission news. Yeah this will surely suit a business company website requirements. That’s why i did it. Stay in touch with Animhut for more stuff and also look into older posts.
Thanks for this tutorial
It’s really useful the refresh on the basics from time to time
Thanks Dan, As you told to make a good looking website sticking on to the basics of photoshop is enough. Expert level skillset is required in graphic designing and advertising.
Thanks Maryland IT Support Company. Sure we will never ever stop posting. Keep logged in with animhut for more fascinating works.
Hi dsign buzz. I saw your blog. The inspirational posts that you have put up in your blog are really impressive. Also heard that you have started in june this year. All the best and also stay in touch with animhut.
Hi, nice tutorial. good luck for new ideas
Great clean design. Dark websites are often make it hard to see the text but I think you created a good balance here.
Thank you web2000. thanks for your comments. Thanks for noticing these minute details that i took care of. Stay in touch with animhut for more tuts resources and freebies.
wow.. Fantastic steps.. i really like it. keep up 🙂
yeaaaah it’s excellent 😀
You’re not the typical blog writer. You definitely have something powerful to add to the internet. Keep up the superior work.
awesome!!!
hii…